Windows Services: Getting started
Windows Services : Getting started
Windows services are long running applications that run in the background without disrupting the logged in user. These applications are ideal to monitor the system, respond to web requests, log activity, etc. These apps can start automatically once the system boots up and they run in their own security context. Windows Services are very simple to create and install. In this blog post I'll walk you through how to get started with windows services and how to easily debug it.I'm using Visual Studio 2017 Community edition, which can be downloaded for free here.
- Begin by starting Visual Studio 2017 Community Edition

- Once VS 2017 is finished loading got to
- File -> New -> Project...

- The new project dialog will open
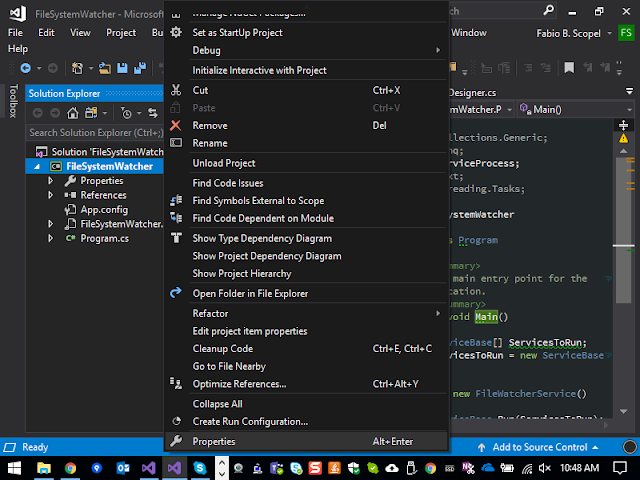
- Click on Visual C# -> Windows Classic Desktop -> Windows Services
- Enter a Name and Location to save your solution

- Wait for the template to finish generating

- Now let's replace the standard "Service1" name with the name of our application
- press CTRL + SHIFT + H to bring up the Find and Replace dialog
- Find "Service1" and replace with "FileWatcherService"

- Click Yes on the next dialog

- Click OK on the results dialog

- Close the Find and Replace dialog

- Now we need to rename the Service1.cs file iteself
- Right click the file and choose Rename in the context window
- Enter FileWatcherService and press Enter

- Double click AssemblyInfo.cs

- Double click the FileWatcherService file

- Your project initial setup is complete.

At this point let's setup your project to be debug. A topic that many people have difficulty with. Continue here Windows Services: Easy debugging
Comments
Post a Comment